
In this article, we will be taking a look at Hades 2, the follow-up to Supergiant’s successful rogue-like game. Much akin to the first game, you will have access to a myriad of boons from the pantheon of gods on Olympus and more and can be spoiled for choices.
Introduction
Today, we will be taking a look at some of the combinations of boons and buffs that will help you bring out your most potential in your task of taking down the Titan of Time, Chronos, or the Father of All Monsters, Typhon.
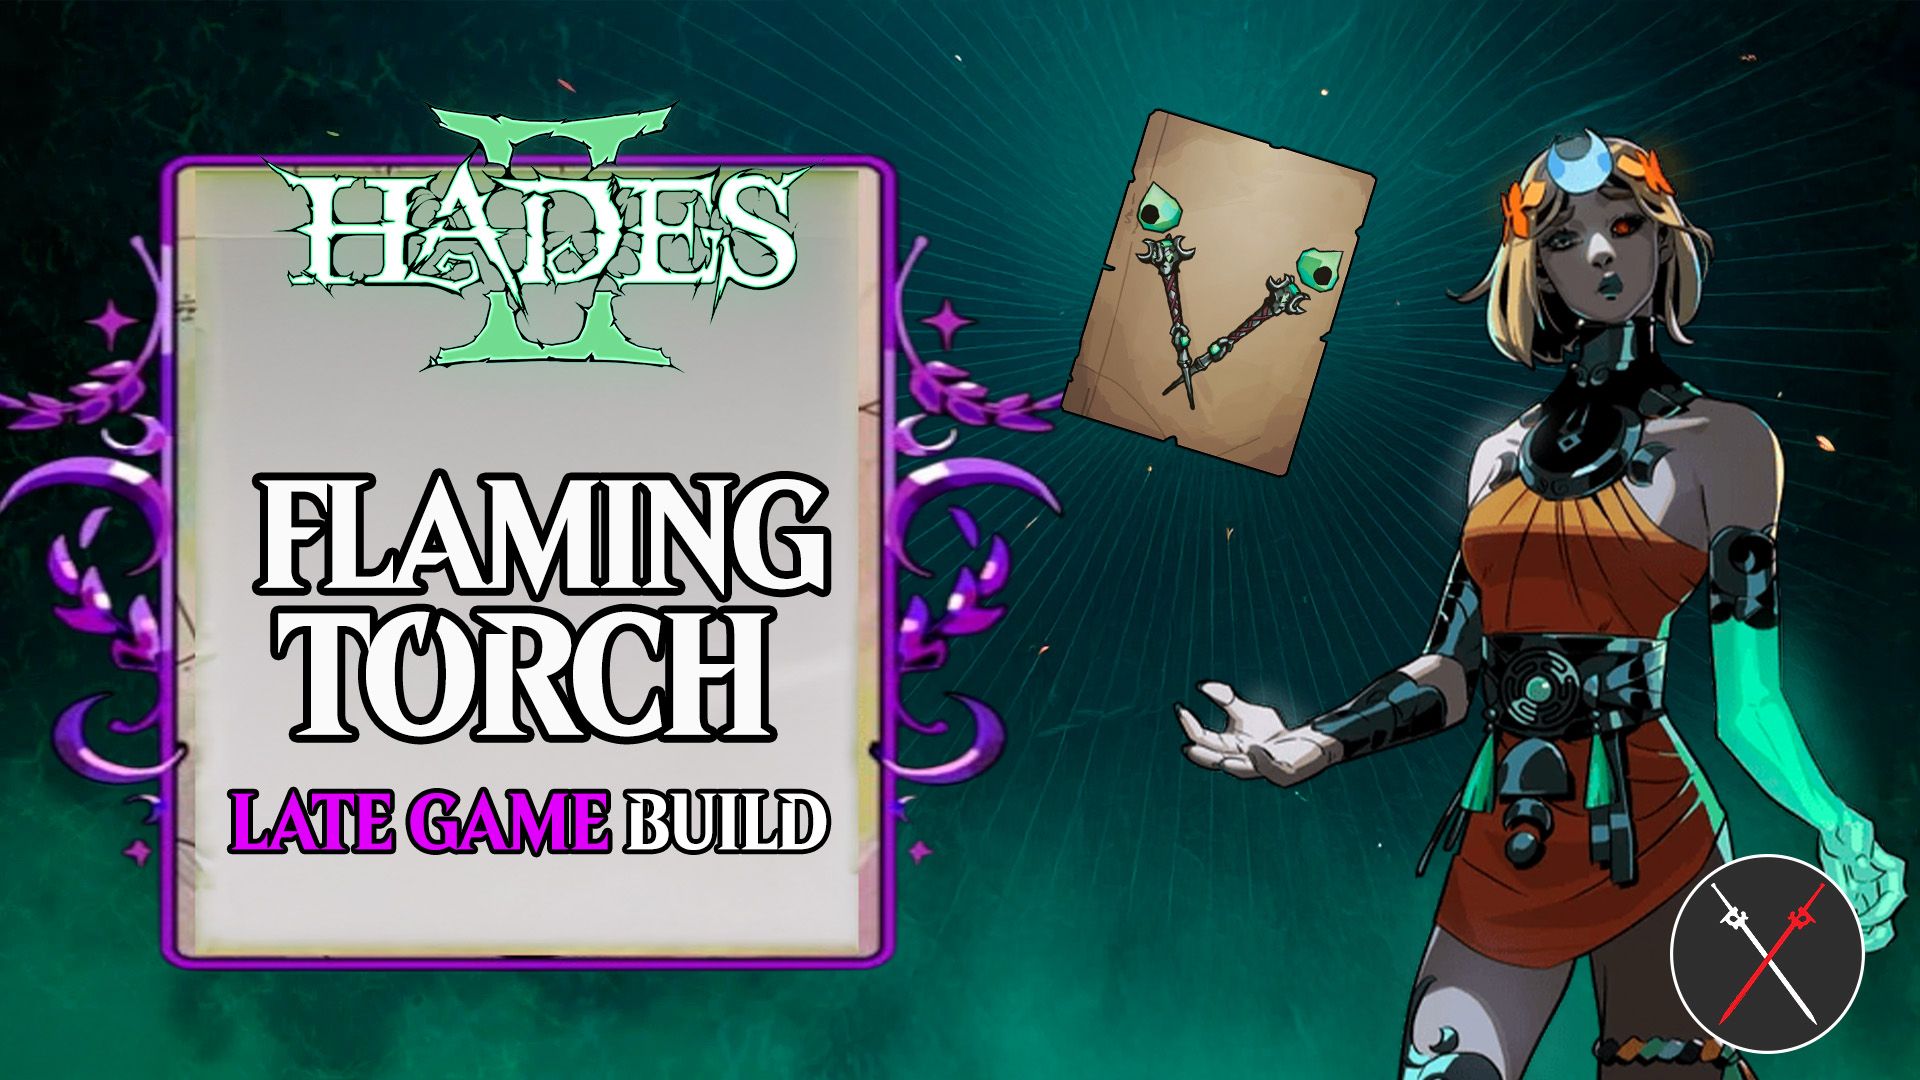
This is a late-game build using Ygnium, the Umbral Flames, and for this particular build, we will be using the Aspect of Melinoe for the weapon among the various types available. Our aspect gives us an inherent increase in critical chance when using the Umbral Flames and helps us burn down our foes easily from range.
Arcana
In Hades 2, we can meditate at the Altar of Ashes at the beginning of each night before heading out to increase our strength and upgrade ourselves, but the amount of Arcana that we can use is limited by the amount of Grasp available to us, which can be upgraded using the Psyche resource.
For this specific build, which is aimed at early runs and bringing out the best offensive capability early on in the game, we will be focusing on early arcana cards available to us to make the most out of the tools available.
The first arcana available to us and that we will be using for this build is the Sorceress.
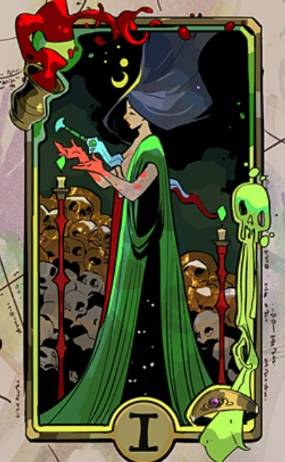
This card costs 1 Grasp to equip and will increase the charge speed of our Omega versions of attacking moves.
Next, we will use the Wayward Son arcana, which is another card costing 1 Grasp and will allow us to recover health points after each encounter. At the base level of the card, it enables us to regain 3 HP.
This card helps with sustain on our runs and is one of the more valuable arcana to use.
The Huntress card requires 2 Grasp to use and will increase the damage of our attack and special when our magick is not at full capacity.
Since we will be using our charged Omega Attacks that consume the resource quite often, we will benefit highly from having this card equipped.
Next, we will be using the Unseen arcana.
This card is one of the more expensive cards to use as it costs 5 Grasp to equip but plays a crucial role, especially with this build, as it will restore our magick by a set amount every second depending on the level of the card.
By having the Unseen card, we will have The Moon arcana card active, as it will activate whenever we use any of the surrounding cards.

The Moon card makes it so that our Hex will charge up automatically regardless of whether we are using magick or not, and when we are using magick actively with our charged omega attacks, it will greatly speed up our hex build-ups.
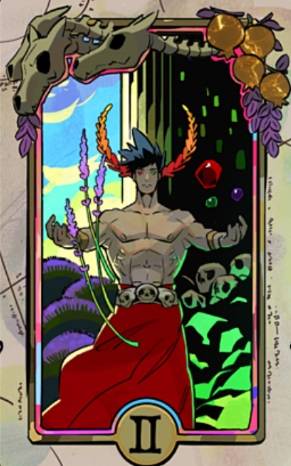
The next arcana card we will be using is the Messenger.
This card costs 1 Grasp to use and will make us immune and impervious to all attacks for a second while speeding us up whenever we cast our binding circle.
This allows us an additional dodging component attached to one of our offensive tools with this build, enabling us to be more aggressive in our approach.
We will also be equipping the Swift Runner arcana, which also requires 1 Grasp to activate with this build.
What this arcana does is increase our sprint speed, making it easier to dodge enemy ranged attacks while also enabling us to pass through enemies when sprinting.
The added mobility from using this card is invaluable in allowing us to go on the offense using agility and speed.
Next, we will be using the Origination arcana card for our build.
This card costs 5 Grasp to activate but will enhance the damage that we deal to any foes inflicted with 2 curses from our Olympian God relatives. This will greatly enhance the damage we deal against our foes.
Then we will be using the Excellence arcana card.
This card requires 5 Grasp to activate and can be a really powerful card because Excellence grants us a chance for our common boons to be of higher rarity, making them more powerful.
Next, we will be using the Persistence arcana card, which requires 2 Grasp to use.

This card will increase our maximum health points and magick by a set amount depending on the level and will give us more room for error with the increased health.
Then, we will also be looking to activate the Artificer card, requiring 3 Grasp.

This arcana will give us a chance for some minor finds such as ashes and bones to become major finds such as boons and Daedalus Hammer, giving us more power during our run.
Finally, we will be using the Death arcana.
This arcana card requires 4 Grasp to equip, and the high cost is definitely worth it, as it gives us a Death Defiance.
This acts as an extra life, allowing you to come back with 40% of your max life and magick upon dying, increasing your chance of successfully finishing a run.
This particular combination of cards will have a range of costs from 1 to 5 Grasp to activate and, in turn, awaken the Centaur arcana card.

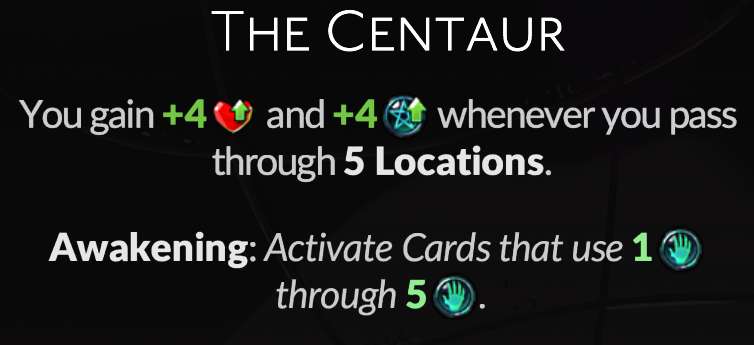
Having this card will give us an increase to both our max health points and max magick whenever we pass through 5 locations, ensuring we have a substantial amount of both when we finally face the final boss.
All these cards combined will require 30 Grasp to activate and will make us powerful in our runs while accomplishing Night’s Testaments challenges.
Keepsakes
At this point in our game, we will have unlocked the upgrade to change keepsakes between each region, and at the start of the run, we will be taking the Everlasting Ember, which is a keepsake we obtain in return for gifting Hestia, the Goddess of the Hearth.

This will make sure that the first boon we receive is a boon from Hestia and allow us to increase the rarity of her blessings once for this run, making sure our start is favourable.
At the end of the first region, we will be switching to the Aromatic Phial that we receive from Narcissus himself in Oceanus.

It is important to remember to switch to this keepsake before drinking from the fountain to restore our health, as it will help us restore a higher amount. In addition, it will also enhance one of our boons to the highest rarity.
This is generally better taken early on since we will have fewer boons in our repertoire, giving us a higher chance of increasing the rarity of our main damaging boons.
Once we’ve gotten through the second region before the third, we will be switching to the Concave Stone, which will allow us to take one more boon from one of the god’s gifts.

This will enable us to bolster ourselves with more boons, increasing our power in preparation for the final region.
For the last region, we will be taking the Luckier Tooth from Captain Schelemus, which will give us an additional chance to restore life points once we have run out of our Death Defiances from other sources, giving a higher chance to succeed on our runs.

Familiar
At this point in the game, we will have unlocked the ability to bring along one of our familiars on our runs, and for this build, we will be taking the white raven, Raki, with whom we can initially form a bond in the Erebus region, which is the first region on the way to Tartarus.


Raki will increase your innate Critical chance in addition to having the ability to peck foes, Marking them. Marked enemies will have an increased chance of 15% to take critical damage from your attacks and can greatly increase your damage.
Boons
Among the plethora of boons offered by the gods, we will have 5 main slots that will affect and upgrade our moves.
First, regarding the boon relating to our regular attacks, we will take one of the boons from Hestia, the Goddess of the Hearth, and with the Everlasting Ember in our possession, the very first boon we come across is guaranteed to be from the Goddess.
We will choose the Flame Strike boon to enhance all our attacks with fire, enabling them to inflict Scorch upon our enemies, continuing to burn them down after the initial hit.

For our special, we will be taking the boon from Apollo, the God of Light, with the Nova Flourish.

This will allow our specials to deal damage in an increased area, which is extremely helpful to keep small foes from surrounding and overwhelming us, especially using the Omega Special, which will circle around us for a duration of time.
With our Cast placing our binding ring on the ground, we will be choosing the Rapture Ring boon from Aphrodite, the Goddess of Love.

This will make it so that any foes caught within our ring will be drawn to the center while being inflicted with the weak curse. Weakened enemies will deal less damage to us, and being caught in the circle, they can be easily shot down with our flaming attacks.
For our Sprint, we will be using the Blinding Rush boon from the God of Light.

This boon is great when using the ranged weapon because, in addition to inflicting Daze upon surrounding foes, it will also increase our sprint speed. The increase in mobility is extremely useful for dodging attacks and repositioning easily, and it is great to have in your repertoire.
For our Gain slot, we will be taking the Cardio Gain boon, another one from Hestia, the Goddess of the Hearth.

This boon enables us to regain Magick by hitting our enemies with either our attacks or specials, ensuring we never run out of Magick, allowing us to keep up the barrage with our Omega Attacks.
These five boons will occupy our core slots when we are on our runs, but they do not necessarily need to be the only boons that we use. There are a combination of boons that can greatly improve the damage we can deal when using the Sister Blades, and the first of them is the Broken Resolve boon from Aphrodite.

This boon will increase the effectiveness of the weak curse inflicted by the Rapture Ring, reducing the damage of enemies even further and coming in especially handy when facing off against bosses.
Following this, we will be looking for the Slow Cooker boon from the Goddess of the Hearth.

This is an infusion boon and will increase the damage of both our attacks and specials depending on the number of fire-element-infused boons we have gained. Since we will be using our fair share of boons from the Goddess herself and the God of Light, both of whose boons are fire-infused, this boon can make us extremely powerful later in our runs.
Next, we will be choosing the Pyro Technique boon, another one from Hestia.

This boon will make it so that our Scorches will burn down our enemies faster by increasing the rate of the damage over time inflicted. Although the boon does not necessarily increase the raw damage we deal, it will help us take down enemies faster.
Additionally, we will take the Dazzling Display boon from Apollo.

This boon will enhance our attacks by giving them a chance to inflict Daze upon our enemies. Dazed foes will have a chance to miss their attacks, indirectly contributing to our sustainability during our runs.
Next, we will be looking for the Warm Breeze Duo Boon between the God of Light and the Goddess of the Hearth.

This is another boon that is great for our sustain, as having this will allow us to recover our health whenever Dazed enemies miss their attacks.
Afterwards, we will take the Extra Dose boon, another one of Apollo’s gifts.

This gives a chance for our attacks, both the regular and Omega versions, to hit twice, considerably increasing our damage output. Since the Scorch curse from our Flame Strike-enhanced attacks can be stacked, the double strike can also inflict an additional stack of Scorch, increasing our overall damage even further.
Next, we will be looking for another Duo Boon, and this one is a collaboration between Aphrodite and Hestia.

This will make it so that enemies inflicted by the weak curse from our Rapture Ring can be burned perpetually by any Scorch inflicted upon them, as the Scorch will not diminish if enemies are inflicted by weak.
Finally, we will be looking for the Legendary Boon from Apollo, the God of Light, called Exceptional Talent.

This boon will additionally increase the number of strikes of both our Omega Attacks and Omega Specials, allowing us to deal a considerable amount of damage quickly at the price of increased Magick cost.
But the Cardio Gain boon from Hestia will allow us to recover any lost Magick quite reliably, so the increased cost is a drawback that can be easily circumvented.
At this point in the game, we will have met Selene, the Moon Incarnate, and have our Hex ability available to us, and from among her gifts, we will be taking the Moon Water Hex for this build.

This Hex allows us to restore hit points per use and is invaluable if you are looking for a high-sustain build. Initially, we will be able to use the Hex 3 times, which can be restored whenever we drink from a fountain, but this can be upgraded so that we have more uses per fountain or our uses do not have a limit and stack up whenever we drink from a fountain.
If we are lucky enough to get the upgrade that removes the limit early on in our runs, we can build up to a dozen charges or more to use in the last region or during our fight against the final boss.
Weapon Upgrade
Regarding the options we get from using the Daedalus Hammer, we will be looking to enhance our attacks when using Ygnium.
Since the Omega Attack of the Umbral Flames works similar to a combo finisher, we will be channeling it quite often, and the Furious Blaze Upgrade will help increase our mobility while doing so by increasing both our speed and the projectile speed. This helps us dodge projectiles and attacks with more ease without easing up our attacks.

The Mega Blaze Upgrade further increases the effectiveness of our attacks by increasing their range while also increasing the damage by 30%.
Playstyle and General Tips on Runs
With the build, we will lean fully into the ranged capability of the weapon and bombard our foes from range simply by holding down our attack button.
Ygnium is unique from other weapons as the attack pattern will go into a charged attack for every third strike of our attack, and on account of the boons and upgrades we will be using, we will be able to maintain our Magick for a long duration.
The Aspect of Melinoe for Ygnium does not alter our gameplay much, as it straight up increases our critical chance, so we can rely on our barrage of attacks to take down our foes.
Using Ygnium is great when fighting against bosses because the weapon allows us to stay at range while dealing consistent damage with minimum downtime.
One important thing to note is that we can be caught in a constant attacking pattern, and since we will be moving slower while we are shooting our fireballs, we can easily put ourselves in a situation where we won’t be able to dodge away from an incoming huge area attack.
Keeping the attacking patterns of the bosses in mind helps with this problem and can be easily circumvented.
At this point in the game, we have our fair share of runs under our belt and most likely, we will have all the Ashes required to unlock all our Arcana Cards.
But, the Ashes can still be used to create ingredients, so they are not completely irrelevant in our later runs. Even so, depending on what you are looking to upgrade in the crossroads, we can go for either the Bones or Ashes.
While Ashes still have their use, the Bones will allow us to buy Moondust, which we can use to upgrade our Arcana Cards, and depending on the level of the Arcana Cards, it can be favorable to prioritize the Ashes around the 20-30th run.
Also, investing in at least three Centaur Hearts so that our max HP can reach 100 is helpful. Even though we will be staying at range and away from damage, the additional health will allow us to make more mistakes.

When faced with choices between an upgrade that is not a Boon you are necessarily aiming for and Gold Coins, it is generally better to go for the Coin Route as you will then have access to more options that you can choose between at the Boatman, Charon, whenever you run into him.
But if you are certain that you will not be able to gain enough coins to afford multiple purchases, you can go for the Upgrade Route.
Going for Poms of Power will also allow us to level up our Boons, and for this build, I suggest upgrading the Blinding Rush Boon.

Although this will not increase our damage, the increase in sprint speed will help with our mobility and dodging incoming projectiles and attacks more easily.
Conclusion
When using this build with the Umbral Flames, it can be tempting to just hold our ranged attack pattern and consistently barrage our foes at the cost of our movement speed.
The Burning Desire will allow us to deal persistent damage as long as we keep our targets within our Binding Circle, and this is extremely powerful when fighting against bosses.
This becomes even more powerful as we stack up our Scorch with our barrage of attacks, allowing us to quickly melt down foes.
As powerful as our attacks can be, they can also significantly hinder our mobility as we hold down the attack button. It is important to remember to stop attacking and dodge properly whenever there are huge attacks incoming.
The Blinding Rush will help us reposition more quickly and use our specials in combination with our attacks to deal damage.
This wraps up my article for the Flaming Torch, Aspect of Melinoe (Ygnium) build for Hades 2. I hope you find this helpful in your conquest against Chronos, the Titan of Time, or Typhon, the Father of All Monsters, and may you find success in all your runs. If you have any tips, feel free to leave them in the comment section below!!